Painting is such a relaxing and satisfying activity. But there’s nothing worse than starting a new acrylic painting only to find your brushes are dirty and clogged with dried paint! Of course, you could replace your brushes after a few uses, but that’ll hurt your wallet, and the environment!
Although it’s tedious, it’s worth it to take the extra few minutes needed to properly clean your acrylic brushes after each use (and between colors!). It will not only save you time (and money!) in the long run, but it will also make a difference to your artwork. There’s nothing more devastating than stepping back to admire your painting, only to see bristles or lumps of old paint stuck in your canvas!
Keep reading to learn how to clean acrylic paint brushes to keep them in top condition, how to remove stubborn dried paint from your acrylic paint brushes and how to properly dispose of your water waste (no, you shouldn’t pour the water down the sink!).
TABLE OF CONTENTS
- Natural vs synthetic paint brushes
- A step by step guide to properly cleaning your acrylic paint brushes
- How often should you clean your acrylic paint brushes?
- How do you clean acrylic paint brushes between colors?
- How do you remove hardened acrylic paint from a brush?
- Disposing of acrylic paint water waste responsibly
- Acrylic paint brush cleaning dos and don’ts!
Natural vs Synthetic Paint Brushes
Before you begin cleaning your acrylic paint brushes, it’s important to know which brush type you’re dealing with. Because when it comes to paint brushes, the type of bristles makes a big difference for how you should clean and store them.
Natural paint brush bristles are made of animal hair, meaning they’re sensitive to extreme temperatures and alkaline solvents. Meanwhile, synthetic paint brush bristles tend to be made of plastic or nylon, making them resistant to corrosion and chemical action.
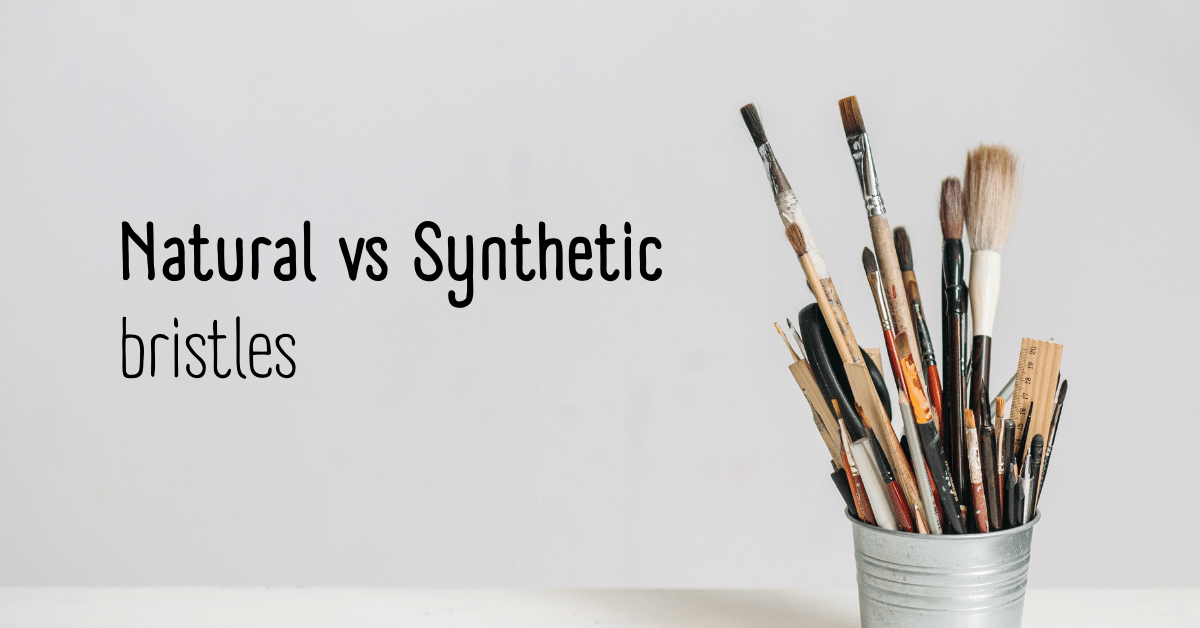
Synthetic bristles tend to be the number one choice for acrylic paints, because the solvents acrylic paints have the potential to damage the hairs on natural brushes (which are typically made from animal hair).
And they’re usually less costly than natural brushes.
However, natural paint brushes are generally the favorite of professional artists. They’re gentler and more precise, and allow paint to spread evenly on a canvas without leaving visible brush strokes (as synthetic brushes sometimes do).
Regardless of whether you’re using natural or synthetic brushes, cleaning your paint brushes immediately after use is essential for proper care. That’s easier with synthetic paint brushes since you don’t need to worry so much about damaging the bristles in warm water or soaps.
If you care for your natural paint brushes properly and avoid too hot water when washing, then both types can last for many years. Finally, the right storage can help ensure that the paint brushes are taken care of in between uses – avoiding direct sunlight helps give them an extended life!
Synthetic Brushes
Best for acrylic and water-based paints
For good value & quality synthetic brushes:
Arteza Set of 12 Premium Paint Brushes
Natural Brushes
Best for oil-based paints
For good value & quality natural brushes
Fuumi Set of 11 Natural Hog Bristle Brushes
How to clean your acrylic paint brushes: Step by Step
Note: This method is suitable for both natural and synthetic paint brushes.
1. Prep your cleaning space.
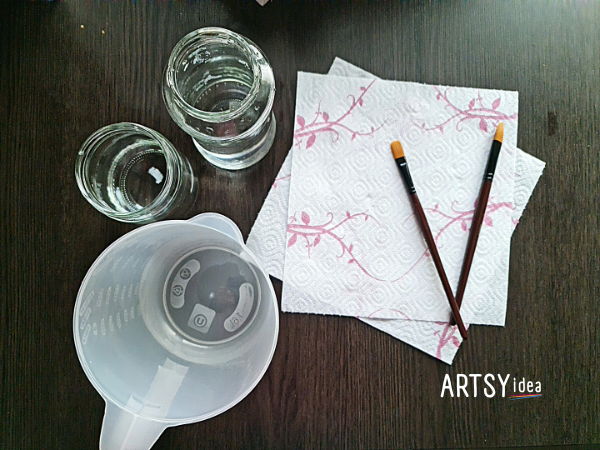
Set yourself up for success by gathering all the supplies you’ll need to clean your brushes. You’ll need some dry rags or paper towels, at least two cups or buckets of lukewarm water, and one 00empty container for waste. Finally, you’ll need a small space to lay your brushes for drying.
2. Remove excess paint.
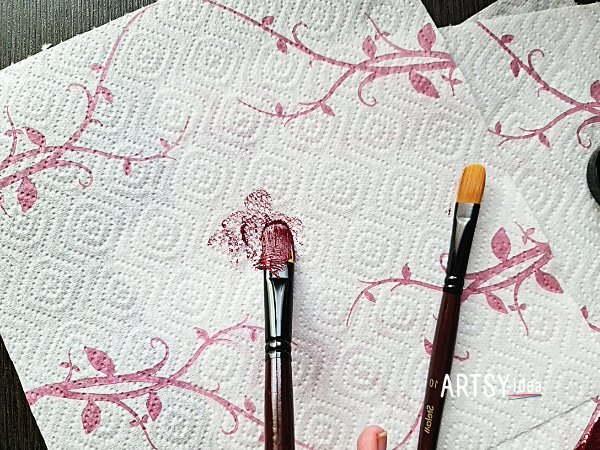
Before you even think about going to your sink, start by blotting the bristles with a dry paper towel or rag to remove any excess paint (Note: a reusable rag is more eco-friendly than disposable paper towels).
Don’t be shy, either – get as much paint off as you can before moving on to the next step. This may take several attempts to remove the majority of the paint. If you use a thicker acrylic paint, try gently squeezing the bristles at the base of the brush and working your way down to the tips of the bristles.
3. Rinse and repeat.
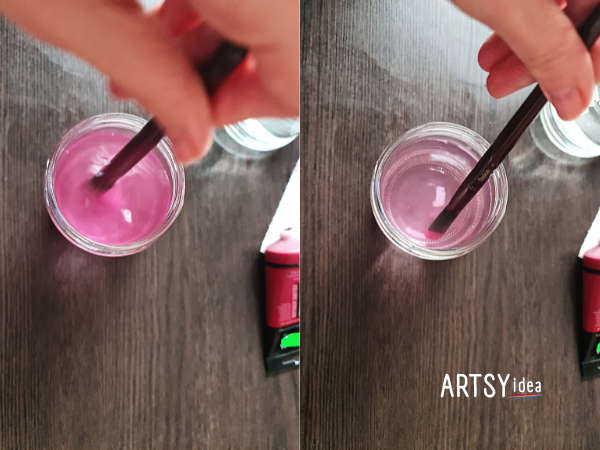
Swirl the brush repeatedly in a cup of lukewarm water, using the edges of the cup to help loosen the paint. You might need to vacillate between rinsing and blotting until you have successfully removed all of the paint remnants. Once the brush is cleaned, shake off any excess water.
4. Apply your brush cleaner of choice
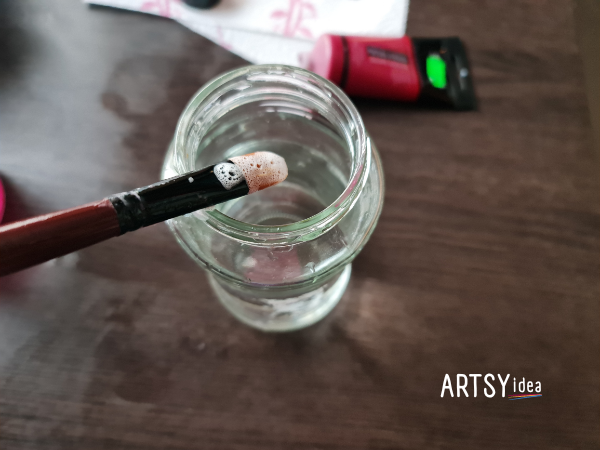
Feel free to use any artist or brush cleaning soap for this step; however, I highly recommend “The Masters” Brush Cleaner & Preserver by General Pencil (it’s a favorite of artists everywhere and can be used on both synthetic and natural paint brushes). Either way, take your soap and build up a decent lather using the bristles of your brush.
Using a second cup of clean, lukewarm water (make sure it’s not too hot!), gently swish your soapy brush in the cup until the soap is mostly removed. Repeat this step a few times until your brush looks completely clean.
5. Rinse and dry
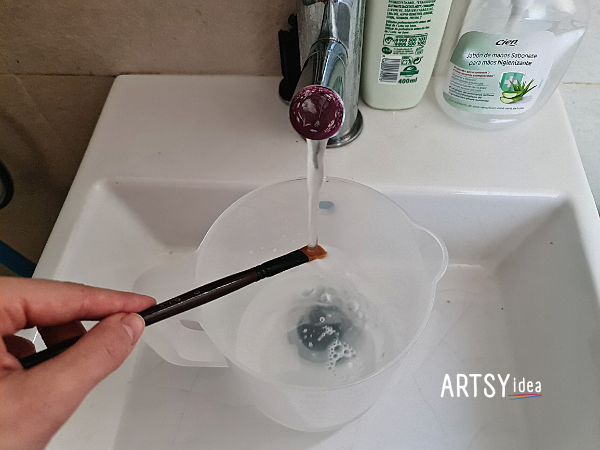
Place an empty cup under your sink faucet. Slowly rinse the brush bristles with running, lukewarm water to remove any remaining soap particles.
Be sure the runoff water falls into your empty cup rather than down your sink drain.
When the water runs clear, shake off any extra water and gently shape the tip of the brush back to its natural form.
It is ideal to allow your brushes to dry upside down (bristle-end at the bottom) in a special brush holder. This will help preserve them for longer in good condition. However, if you do not have a brush holder, lay your brushes horizontally on a clean and dry paper towel or rag.

I highly recommend the Paint Puck brush holder and cleaner if you’re a frequent painter. It allows you to dry and store your brushes properly (a lot of them).
It also has an attached cup for water, and a specially-designed silicone base that makes it easier to clean your brushes without damaging the bristles, so it’ll help you keep your brushes in good condition.
5. Dispose of waste.
While your brushes dry, take some extra time and care to properly dispose of the paint water. Do NOT pour the water down the drain, even if it looks fairly diluted. We’ll talk about this more below.
How often should I clean my acrylic paint brushes?
Paint brushes, especially those used with acrylic paint, should be cleaned as soon as possible after every use.
If you postpone cleaning, the acrylic paint can dry onto the bristles making it very difficult to get off, as well as making the bristles stiff and fall off. No one like a bristly painting!
How should I clean my acrylic paint brushes between colors?
If you’re using one brush for multiple colors, you don’t necessarily have to do a full cleaning routine in between each color. Instead, you can simply dab off any excess paint with a towel and swirl the brush in clean water.
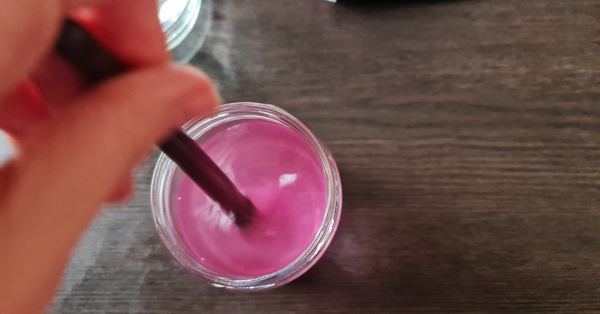
Be cautious and thorough when doing so, especially when using thicker acrylic paint as particles can get stuck in the bristles and mix with your new color.
How do you remove hardened acrylic paint from a brush?
Life happens. You might not always have the time or energy to clean your brushes immediately. But, don’t throw out those brushes just yet! Instead, you can try a more thorough cleaning method to remove the hardened paint and promote a long, healthy life for your brushes.
Using a for-purpose brush cleaner and restorer is the best way to get hardened acrylic paint out of your brushes. I’ve left acrylic paint in my brushes for week and still managed to revive them with a good soak in brush cleaner! I use Winsor & Newton’s Brush Cleaner and Restorer for the most stubborn hardened paint. Generally speaking, the Winsor & Newton brand is excellent for most art materials.

You may be tempted to use acetone to remove hardened paint from your brushes, but be warned – it may do the trick, but you likely won’t want the result.
Acetone can quickly break down paint and stiffen paint brushes, leading them to become brittle and unusable. So if you still have some life left in your paint brush collection, best save harsh chemicals for other cleaning projects around the house!

Here’s how to remove hardened paint from your acrylic paintbrushes:
STEP #1 First, allow your brushes to soak in just enough brush cleaner to cover the bristles. How long you need to soak them for will depend on how thick the hardened paint is. It may only take a few minutes, or you may need to soak them overnight.
Once you see the paint start to dissolve, use the edges of the container to loosen the hardened paint.
STEP #2 Then, rinse the bristles with lukewarm water, allowing excess water to fall into an empty container for disposal. You may need to repeat these steps a few times.
STEP #3 Once most of the solidified paint has broken off, complete the standard brush cleaning routine listed above.
Disposing of water waste responsibly
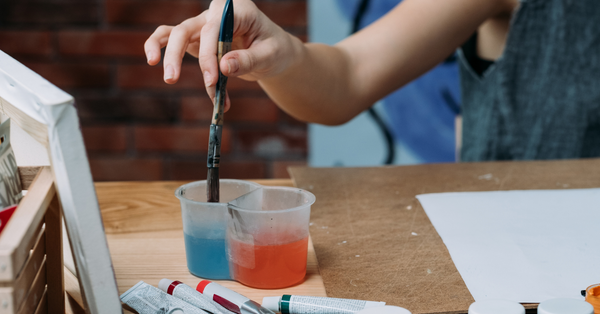
Back in the day, art students would pour gallons of soiled paint water directly down the drain like it was nothing. Luckily, society has since learned about the dangers of polluting water systems with the harmful chemicals commonly found in acrylic paint.
Today, artists are becoming more conscious about their disposal methods, and rightfully so. Paint particles can infiltrate water systems, pollute drinking water, disrupt marine life, and generally cause harm to the environment.
You’re probably asking: How do I dispose of my paint water if not down the drain? Fortunately, you have several quick and easy options to do so.
1. Use a coffee filter
Most of us already have coffee filters lying around the house. Pour your soiled paint water over the filter and allow the solids to collect in the filter. Then, simply discard into your garbage can and pour the remaining water down your drain.
1. Use a drain screen
These are inexpensive and easy to use. You can place a drain screen over your drain and pour the soiled paint water directly into your sink. The solids will collect on the screen for you to discard. You can also use these over and over again, making them more eco-friendly.
3. Use a sand and gravel pit
This method is more effective than a drain screen or coffee filter, but it does require a bit more time and effort. After digging a moderately deep hole, add sand and top the sand with gravel. The sand and gravel will naturally filter the water as you pour the paint water mixture over the top.
4. Use clumping cat litter
Pour your cat litter into a large bucket. Then, pour your soiled paint water over the top. Wait for the litter to clump, scoop the clumps out, and discard. This method eliminates any paint particles from going down your drain.
5. Install a solids separator
This method is the most effective, but it is also the most expensive and time consuming. These filtration systems are commonly found in art classrooms. The equipment is attached to your existing plumbing system to filter out any solid paint material and prevent it from entering the regular water system.
Acrylic paint brush cleaning dos and don’ts

Now that you have a solid grasp on how to effectively clean your acrylic paint brushes, here are a few other tips and tricks to keep in mind:
Do clean your brushes as soon as possible after each use.
Always allow your brushes to dry completely before storing them.
Don’t let paint dry on the bristles!!!.
Don’t use the palm of your hands to loosen paint and or clean your brushes.
Never leave your brushes soaking in water – this will rot the glue holding the brush together and cause cracking in the handle.
Don’t leave your brushes to dry with the bristles pointing upwards.
Don’t crush the bristles or try to force the paint off – patience is key!
Do NOT pour dirty paint water directly down the drain – this practice is an environmental nightmare!
Key takeaway
Like with anything else, your acrylic paint brushes can last a long time if they are properly taken care of. A little cleaning goes a long way. It might feel like a chore while you’re doing it, but your brushes (and your wallet) will thank you later on. Besides, you probably spend way too much on art supplies already, so why not save yourself a few bucks?


