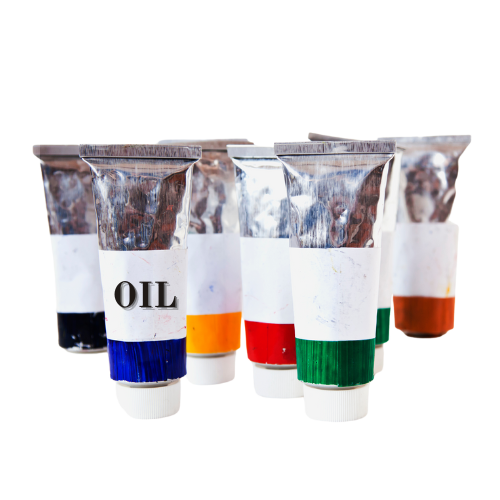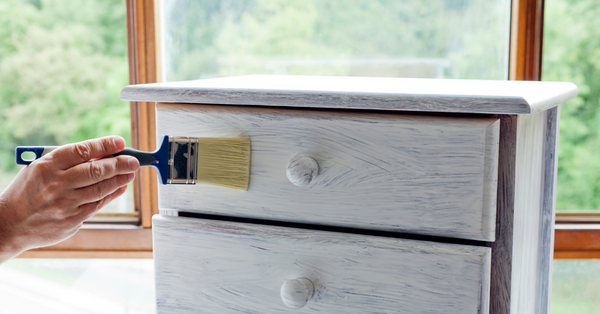
Can you use oil paint on wood? Absolutely! Painting wood with oil paint can be a great way to add a unique touch to furniture and other wood projects. Wood is an ideal surface for oil painting because it can absorb and hold the pigments of the paint without cracking or flaking.
However, there are a few things to consider when painting wood with oil paint. Keep reading for a step-by-step guide along with the pros and cons of painting wood with oil paints.
TABLE OF CONTENTS
Considerations for Using Oil Paint on Wood
Before you begin painting a wooden surface with oil paints, you should take a few things into consideration to achieve optimal results.
Type of Wood
When it comes to painting with oils, the best type of wood to use is a well-sanded, smooth, hardwood like maple, birch, or poplar. These types of woods are ideal because they have a smooth surface that is perfect for painting on. Furthermore, they are dense enough that they can handle the oil without absorbing it too quickly, which can lead to uneven oil absorption.
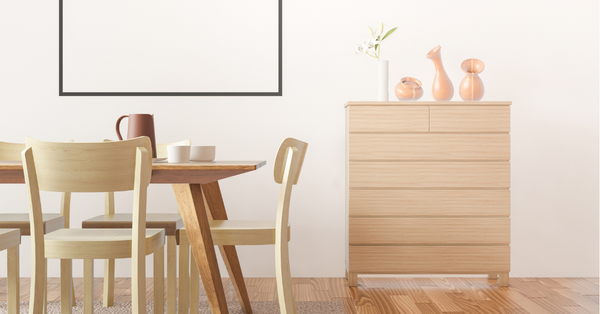
Softwoods like pine, cedar, and redwood should generally be avoided when painting with oils. These woods are softer and therefore more prone to absorbing the oil quickly, which can lead to difficulty in working with them and uneven oil absorption. Additionally, the uneven absorption of oil can cause issues with the aesthetic of your paint, so it is best to avoid soft woods when working with oil paints.
That said, if you seal the wood properly before priming and painting, you should be able to paint on them with little issue.
Is the Wood Stained?
If the wood is stained, you need to prime the wood before you paint it to make sure the color doesn’t show through. This is especially important if you want to paint a light color over a darker wood. A primer will make sure the paint adheres properly to the surface and that the finish is smooth and even.
Safety
Oil-based paint can be incredibly toxic, which is why it’s so important to follow a few extra safety precautions.

First, always wear gloves and a face mask when handling oil paints and solvents, as they can be toxic to touch and breathe in. Be sure to use a well-ventilated area and wear protective clothing such as overalls to prevent absorption of the oil into your skin.
Make sure you read and follow carefully the safety precautions of your specific paint.
Pros and Cons of Using Oil Paint on Wood
There are many advantages and disadvantages of using oil paints on wood. Below are just a few things you should consider.
Pros of Using Oil Paint on Wood
Oil paints are extremely durable, and when used on wood, they can last for many years without fading or cracking
Oil paints bring out the natural beauty of the wood, and they are great for creating unique art pieces that have a rich and vibrant look
Oil paints can be used to create an array of vibrant colors, textures, and effects on wood
Oil paints are easy to work with, and they can be blended to create a wide range of effects, from subtle to bold
Oil paints are readily available in a wide range of colors
Cons of Using Oil Paint on Wood
Oil paints can be difficult to clean up after use, and they can be messy
Oil paints may not adhere to the wood as well as other types of paints, so they require more preparation and care when applying
Oil paints can be toxic and require the use of protective equipment, such as gloves and a respirator, when painting
Oil paints can be expensive compared to other types of paint
There is a risk of flammability when using oil paints on wood, so it is important to take proper safety precautions to prevent any accidents
Step by Step Guide: How to Paint Wood With Oil Paint
STEP #1 – Sanding the Wood
First, it’s important to prepare the wood surface before painting. You should sand the wood with a fine-grit sandpaper in order to remove any rough spots or splinters.
If you are working on a piece of bare wood, an 80 grit sandpaper should generally be used to start with. This will help to prevent brush strokes from being visible and give the surface a smooth finish.
On surfaces that have already been painted or primed, 150-180 grit sandpaper should be used to remove any imperfections and create a even, glossy surface for the oil paint. It is best to avoid going past 180 in terms of sandpaper grit, as finer grades can cause gouging in the wood.
STEP #2 – Priming the Wood
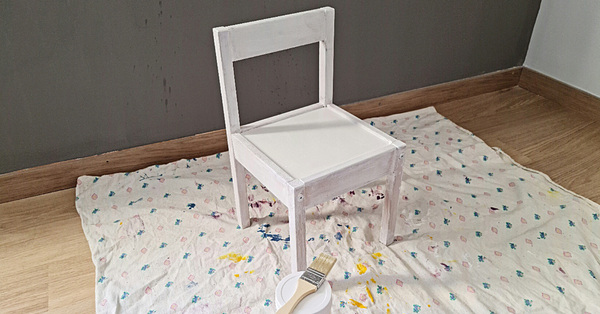
Priming the wood provides a solid base coat that allows the paint to adhere to the surface and give a great finished look. Oil paints will not stick to wood without a primer, so this step is essential.
Generally speaking, two layers of primer should be applied to wood prior to painting with oil paints. The initial layer helps to ensure a sticky surface for the topcoat, while the second layer helps to fill in any minor scratches and imperfections that may exist on the wood’s surface.
!!!! Make sure you let each layer of primer fully dry before applying the next coat. This is usually 24 hours.
By taking the time to carefully prepare the wood with several layers of primer, you can rest assured that your final paint job will look its absolute best.
We recommend using the Zinsser Bulls Eye All Surface Primer, which works well on unstained wood (or stained wood that you’re going to paint a dark color). For stained wood where you want to apply a light color, better to opt for a stain-blocking primer like Zinsser BIN.
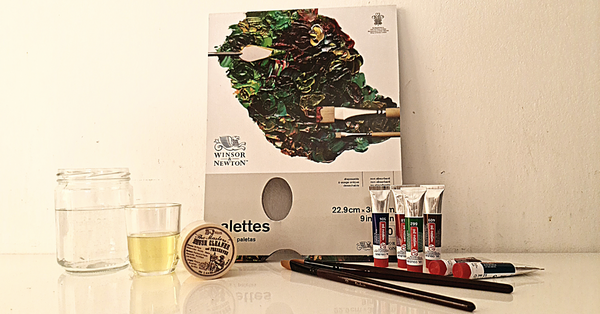
STEP #3 – Choose the Right Paint and Brushes
You can find oil paints in a variety of colors and textures, so it’s important to pick one that will complement the wood. You’ll also need to choose the right type of brush for the job.
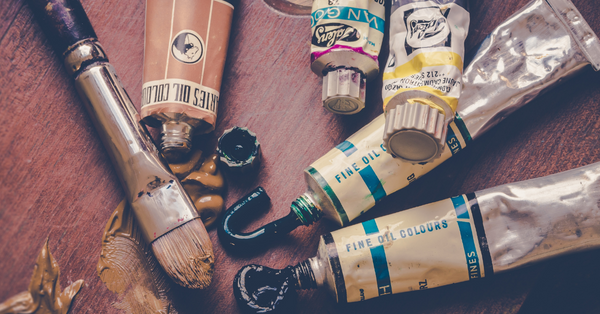
Natural bristle brushes are the go-to for oil painting. Natural bristles provide excellent control and coverage of thicker media (like oil paint), making them well-suited for intricate details on wooden surfaces. Also, natural bristles are ideal for achieving fine lines and curved strokes without dripping or smudging the paint.
For a smooth finish, you can also use a small roller. A sponge brush can also come in handy – you can pick these up in a pack in any hardware store.
If you want visible brush strokes or to do a brush on effect, then use a slightly harder brush.
STEP #4 – Paint Your Piece!
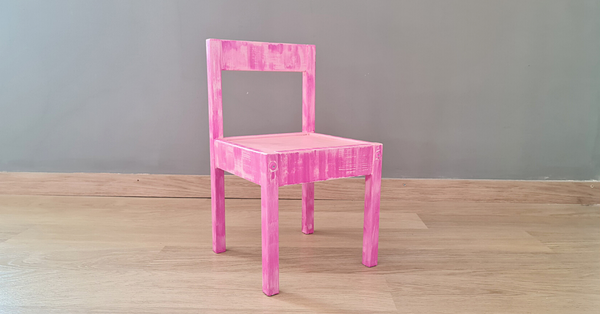
Here’s the fun part! Start by painting a thin, even layer of paint onto the wood. Make sure to apply the paint in the same direction as the grain of the wood.
Allow the paint to dry, and then apply a second coat if necessary.
STEP #5 – Seal the Deal
Finally, you’ll need to protect the paint from damage. You can do this by applying a coat of varnish or polyurethane to the wood. This will help to seal the paint and protect it from water and sun damage and keep it looking great for a long time!
You can use a water-based poly sealer to seal your piece. Minwax Water-Based Protective Finish is a good all-purpose sealant that comes in a range of finishes, from gloss to matte, depending on the desired look for your final piece. It’s easy to apply and dries quickly. You’ll need to apply a few thin coats and voilá!
Tips & Tricks for Best Results
Here are a few tips to keep in mind when you are painting wood with oil-based paint:
Make sure all your materials are clean and free of dirt or dust before you begin painting.
Keep the wood you are painting on an even surface to prevent uneven drying.
Clean all brushes, rollers and other painting tools with a solvent designed for oil paints to prevent residue build-up.
Allow the oil paint to dry completely before adding a second coat.
Always follow the recommended safety precautions when working with oil paint.
Best Paint Alternatives to Use on Wood
While oil-based paints work well on wooden surfaces, there are several other alternatives which produce great results, including acrylic and alkyd.
Acrylic (Latex) Paint
Acrylic (latex) paint is an ideal choice for painting wood surfaces, as it is very durable and easy to clean. It is also resistant to fading due to UV light exposure, making it a great choice for areas exposed to direct sunlight. It is a water-based paint, meaning it is easy to apply and dries quickly.
Acrylic paints are also widely available, in a large range of colors, and tend to be cheaper than oil paints. They also don’t have a strong odor like oil paints, so can be more comfortable to work with.
Alkyd Paint
Alkyd paint is another great choice for painting wood. It is a high-performance paint that is highly resistant to scratches and scuff marks, making it ideal for high-traffic surfaces.
Additionally, alkyd paint is highly durable and long-lasting, making it a great choice for wood surfaces that will be exposed to a lot of wear and tear. It also adheres well to wood surfaces and dries quickly.
Key Takeaway
Painting wood with oil paint is a great way to add a unique touch to your projects. With a few simple steps, you can create beautiful, long-lasting pieces of art.
Frequently Asked Questions
Is oil-based paint OK for wood?
Yes, oil-based paint is suitable for wood. It is a great choice for wood surfaces because it provides superior coverage and protection, and it is durable and long-lasting. However, oil-based paints can be more difficult to work with and require specific cleaning materials.
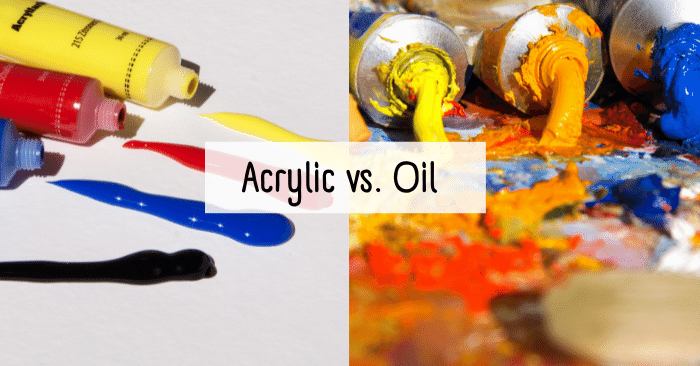
Is it better to paint wood with acrylic or oil?
It depends on the desired finish. Oil paints are usually more durable and create a more even finish. Acrylic paints dry faster, are easier to clean up, and can be used on a variety of surfaces.
Can you use oil paint on wood without a primer?
No, oil paint should not be used on wood without primer. Primer helps to seal the wood and provide a better surface for the paint to adhere to.
Should I use oil or water based paint on wood?
It depends on the project you are working on and the desired outcome. Oil based paints are generally more durable and have better water resistance, but they also have a longer drying time and require more clean up. Water based paints are easier to clean up, have a shorter drying time, and usually have less of an odor, but they may not be as durable and water resistant as oil based paints.

