Acrylic paint is a versatile and commonly used paint among artists everywhere. It’s a fast drying, non-toxic paint material that is extremely easy to clean off surfaces.
There are many materials artists love to use with acrylic paint, including a variety of different kinds of wood.
You can use acrylic paint on many indoor and outdoor wood projects, so long as you follow some simple steps. Read on to learn some tips and tricks to make sure your wood project turns out its best.
TABLE OF CONTENTS
- What to Consider Before Painting Your Wood
- Can You Paint Stained Wood?
- Painting Wood with Acrylics – A Step by Step Guide
- Frequently Asked Questions
What To Consider Before Painting Your Wood
Painting wood can add a whole new level of beauty to it, easily and affordably.
However, before jumping into this kind of project there are few things to consider and take into account if you want the best possible outcome for all the hard work ahead.
Read on as we dive into what goes into successfully painting with acrylic paint!
Consider Which Wood You’re Working With
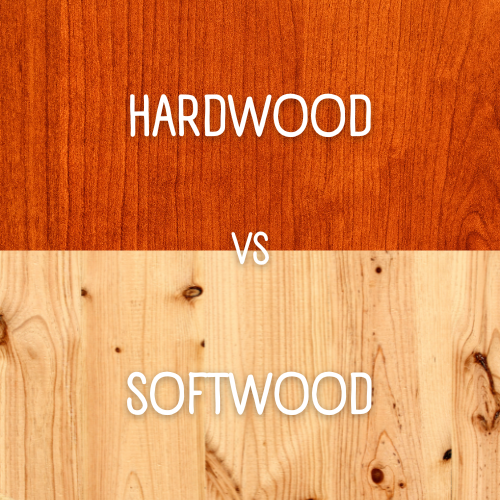
Hardwoods like oak, maple and cherry can be problematic to work with when it comes to painting with acrylic because of their absorbent nature. Acrylic paint is a water-based paint, so if hardwoods absorb too much of the liquid, the pigment won’t have an even consistency, resulting in streaks and other undesired effects. Even worse, absorbent hardwoods can pull off layers of freshly painted acrylics. This can be especially problematic with oak plywood (even after several coats of primer).
Special sealers and primers are typically needed to protect the wood’s surface and promote good paint adhesion. Once you’ve done this step correctly though, you should be able to create beautiful artwork with no hassle.
Choose the Right Acrylic Paint
Acrylics are renowned for their vibrancy, but which paints you choose really matters in terms of colorfastness. There are two different kinds of acrylic paints that artists generally use when painting wood, each with their own pros and cons:
Professional vs. Student Quality Acrylic Paint
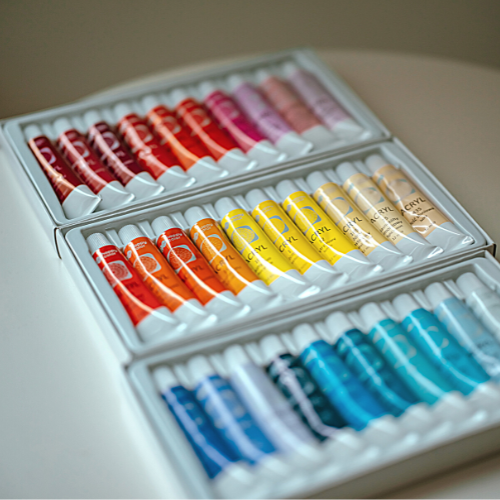
Professional-grade acrylic paints tend to be more saturated and intense than student-grade paints, meaning the colors will have a longer lifespan and resist fading better, even if exposed to sunlight. This is especially important if your piece is for outside.
So if you want your piece to stand the test of time (and the elements) without fading, you definitely want to consider buying paints of higher quality.
On the other hand, student quality acrylic paints are great for fun projects with children or even for decorations. However, these kinds of paints contain fillers, producing a weaker shade and are much more likely to discolor over time. They are generally on the cheaper side and do not have as wide a variety as artist quality paints would, but not always.
If you’re looking for a cost-effective set of acrylics, we recommend the Apple-Barrel Acrylic Paint Set, which comes in 16 colors.
You’ll also want to consider a couple of other factors:
Consistency
Consistency of acrylic paint is very important when painting on wood.
If you are going for a bold look, using thicker paint will give a more intense finish. If you’re painting block color, it will also be more time-efficient as you won’t have to paint so many layers. A higher quality acrylic paint is your best bet here.
You need to be careful not to apply the acrylic paint to the wood too thick as it can cause cracking, bubbling, and chipping – none of these are desirable effects! If you’re trying to get block coverage, the ideal thickness of an acrylic layer on wood should be around 1 millimeter.
If you’re going for a softer or more subtle finish, using thinner layers of acrylic paint is better as it enables you to build up gradually and add in delicate details. Here you can get away with using a cheaper acrylic paint. Of course this is also more time-consuming. It all depends on the effect you’re trying to achieve (and how much patience you have)!
Texture
Consider what kind of finish you would like for your piece. Acrylic paints can range from matte to shiny or metallic to glitter. So there’s a lot of opportunity to get creative!
Can You Paint Stained Wood?
Absolutely! You can paint any kind of wooden surface that is stained. For best results, however, there are some things to consider about the wood before you jump into the project. Ask yourself these questions:

- What kind of stain was used on the wood?
Tons of stains out there can give wood a glossy appearance, which would require extra sanding before the painting process. This will ensure the paint will stick and dry properly. If the stain is a dark one, extra primer should be applied.
- How old or damaged is the wood?
If there are lots of rugged edges and chips in the wood, it will require sanding to smooth them out. It’s ideal to use a piece of wood that is in good shape. Old wood can be used too, but not always advisable if the wood is in very poor condition, as the sanding process has the potential to destroy the piece.
Painting Wood with Acrylics – A Step by Step Guide
Now that you understand some of the basic considerations for using acrylic paints on wood surfaces, it’s time to get started. The first step in making sure your project turns out well is to properly prepare the wood you’re using. Here’s how you can make that happen:
STEP #1 – Sanding
This first step is vital to making your piece appear more polished and aesthetic. While you can buy pre-sanded wood from a hardware store, many will opt for the cheaper wood and do it themselves.
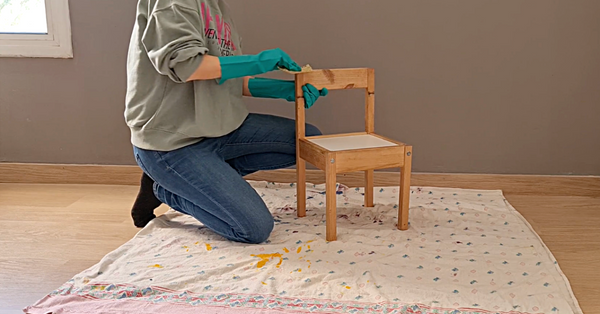
- The Process – An essential step in painting wood is to make sure the surface is properly sanded and smoothed. We suggest using a sandpaper that is fine grit; between 140-180 grit should be good for the job. You should sand with the grain to avoid scuffs or marks on the wood.
- Pre-Sanded Wood – If you happen to purchase a pre-sanded piece of wood, then this step would not be necessary. They are a bit more costly than non-sanded wood but will come shiny, smooth, and ready to use.
- Cleaning – Once your wood is sanded, you can use a tack rag or slightly damp cloth to remove any dust or marks on the piece. If you happen to be painting a large furniture item, it would be best to use a vacuum or air hose to clean before painting.
STEP #2 – Applying a Primer
Acrylic paint already sticks well onto wood, but applying a primer will seal the deal. It’s like adding an extra layer of paint on the wall to make sure it isn’t patchy.
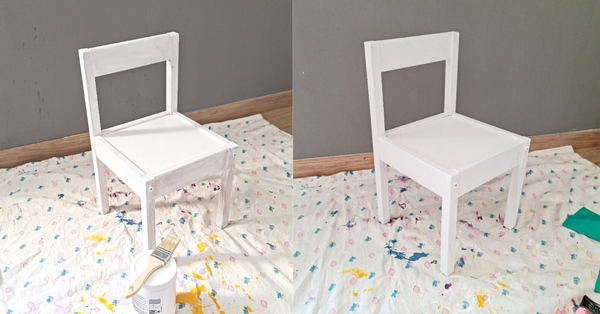
Without a primer, acrylic paint may not adhere to the surface of your material properly. While it is not completely necessary to do this step, it’s highly recommendable, and the best way to ensure the highest quality for your final product. If you use a primer on wood, it is guaranteed to be paint safe as well. Priming will also make your piece more eye-catching, which is especially true for darker shades of wood.
The more layers of primer you add to your piece, the better the finish will turn out. Two layers will usually do the trick. Primer can be sprayed on, rolled on, or brushed. Spraying makes it easier to apply thin coats. Once you apply the first layer, sand the wood all over one more time, then apply the second layer. Let it dry overnight.
When painting wood that is fairly new and not stained, it is best to use a top-quality latex or oil based primer such as Zinsser. The same would go for older, unstained pieces as well. If your piece is already stained, go with a stain-blocking primer, which they sell great quality buckets of as well.
STEP #3 – Painting the Wood
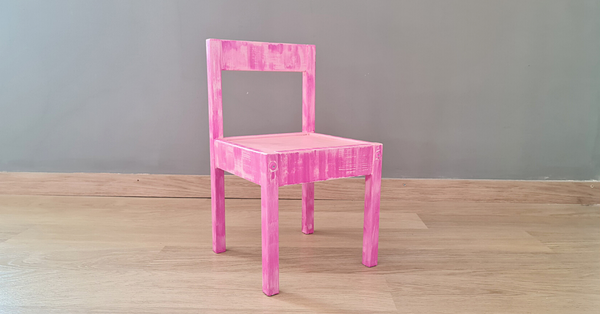
Now that you’ve primed the wood, it’s time for the fun part. When painting your piece, you should consider what tools you need. Go slowly while painting your piece, and be sure to use the paint carefully on it.
If you want your project to turn out high-quality, it’s advised to use high-quality brushes like these for painting. If you go on the cheaper side of brushes, it may end up shedding hairs into your work – every artist and DIYer’s worst nightmare. Go with soft-haired brushes like these as they will generally leave less strokes in your painting (unless that’s what you’re going for!). A sponge brush will come in handy as well.
For the background or larger areas being painted, you can use a sponge brush. When parts of your painting require more precision, it’s a good idea to go with a liner brush. These are thin and tiny enough to make it easier to paint small details.
Tips for Painting on Wood Successfully
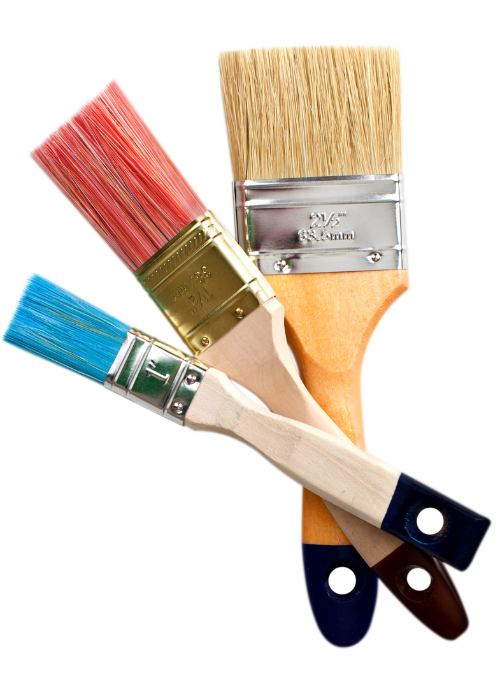
There are a couple of helpful tips you can follow to help make your project turn out as expected.
Make sure you are set up with a proper paint palette, soap for cleaning the brushes, and a jar of water for rinsing.
Use high quality brushes. This will help achieve a smooth application and avoid bristles coming off and getting stuck in the paint.
Only take small amounts of paint at a time instead of filling up the entire brush. This will help achieve an even finish and avoid dripping.
Since acrylic dries rapidly, you should keep an eye out to avoid letting paint dry on the brush.
Clean the brush properly between each use to ensure longevity. If you’re unsure how, check out this article.
STEP #4 – Sealing the Paint
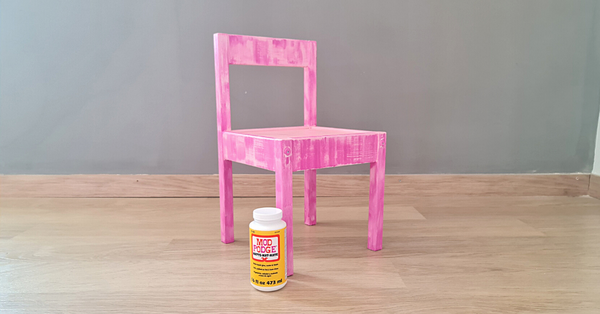
Your project, whether it be a rocking chair or a sign, is now done. It’s time to apply a sealant to it for some extra protection.
Acrylic paint will permanently stick to the wood as is. However, using a sealant will help the project stay beautiful for years to come. Sealant is used to prevent cracking from everyday wear and tear. If the wood you are painting isn’t something often used, this isn’t completely necessary.
Sealants can come in a plethora of finishes – matte, satin, gloss. Pick the one that is best for your project and budget. For small pieces that need sealing, you can use a mod podge sealant (which is what I used in the above image).
If your piece is for outdoors, a polyurethane sealant is best. It will give you a great clear coat that will protect your painted wood surface from any extreme weather and wear and tear.
You can also use a varnish to give a glossy finish to your piece, like Liquitex High Gloss Varnish. But if you really want the colors to pop, an acrylic resin varnish is your best bet. Here are a few common sealants for painted wood and what they are best used for:
– Sealants for Painted Wood –
| Sealant | Best for… | Finish | Properties | Recommended |
|---|---|---|---|---|
| Polyurethane (Water-based) | Outdoors, usually on stained wood | May yellow over time | Durable | Krylon COLORmaxx Acrylic Clear Finish Spray |
| Mod Podge | Versatile glue and sealer for indoors & outdoors | Dries clear, smooth with a gloss or matte finish | Dries Quickly, Durable | Mod Podge Outdoors | Mod Podge Original |
| Acrylic Varnish | Indoor/Outdoor Projects | High Gloss (Makes colors really pop!) or Matte | Durable | Liquitex BASICS Gloss Varnish |
| Polycrylic Top Coat | Usually for indoor projects | Clear with Gloss, Satin, Matte | Durable | Minwax Clear Polycrylic Water-Based Protective Finish Gloss |
| PVA Glue | Small indoor projects (kids crafts) | Slightly glossy | Dries quickly, Not durable, Cheap | Lineco Neutral Ph Acid-Free Clear PVA |
Extra Tips & Tricks for Painting with Acrylics on Wood
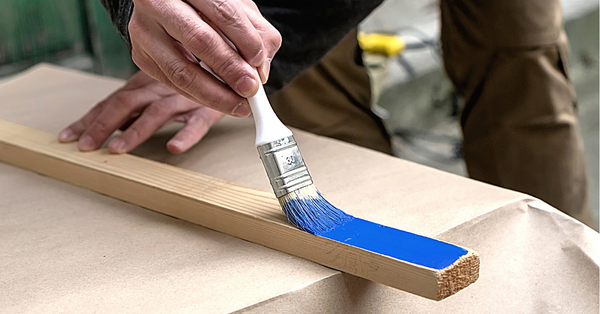
Painting with acrylics can be done by anyone, but for a good finish, it takes skill and precision. You have to be careful and follow the steps for preparation. Here’s a couple of ways you can make the process easier on yourself:
Ventilation – Paint in an outdoor or well-ventilated area. If that is not possible, it’s advised that you wear protective glasses and a mask. Gloves should also be used when coming into contact with acrylics.
Take the Extra Step – Many will skip an important step during the painting process. Applying the primer may not be necessary, but taking the time to do this step will give you the best finish.
Quality Matters – Always purchase high-quality brushes and tools. Paint in thin layers, and go slow to ensure perfect results. Make sure to buy a variety of brush sizes so you can be ready for any occasion during painting.
Frequently Asked Questions
How well does acrylic paint stay on wood?
Acrylic paint generally dries well to wood and will stay on just fine. With the help of primers and sealants, it will remain in good shape for years in some cases.
Is it important to use a sealant after painting on wood?
Yes, as this extra step will protect the painted project from fading over time. It will also act as a shield to sunlight, weather, and other external factors. If it’s for indoor use, it is not as necessary but still encouraged.
Do I need to use a primer? How many layers?
While it’s not necessarily essential to use a primer before painting your wood, it’s certainly advisable. Using a primer will make it easier to paint your wood and give a better finish, especially if you are painting over dark wood. It’s recommendable to apply two layers of primer before painting your wood, allowing the first layer to completely dry before applying the second.

